Configuring Forms Based Authentication in SharePoint 2013
Configuring Forms Based Authentication (FBA) in SharePoint 2013 – Part 1
Configuring Forms Based Authentication (FBA) in SharePoint 2013 – Part 2
Configuring Forms Based Authentication (FBA) in SharePoint 2013 – Part 3
Part 4 – Configuring SharePoint
Now that the membership and role provider have been configured, we can configure SharePoint to use them. For this example i’m going to create a new SharePoint web application. The same settings can be applied to an existing web application through the Authentication Providers dialog.
- Open SharePoint Central Administration -> Application Management -> Manage Web Applications.
- Click “New” to create a new Web Application.

- Name the web application and adjust any other options to your preferences.

- Check “Enable Forms Based Authentication (FBA)”. Enter the ASP.Net Membership Provider Name and ASP.NET Role Provider Name that you configured in the web.config. For this example we used “FBAMembershipProvider” and “FBARoleProvider” (Without the quotation marks).Also, for this example we left “Enable Windows Authentication” checked. This allows us to login either via Windows Authentication or Forms Based Authentication (SharePoint will prompt you when you login for which method you’d like to use).Click OK.

- An Application Created dialog will appear. Click the “Create Site Collection” link to create the first site collection for this web application.

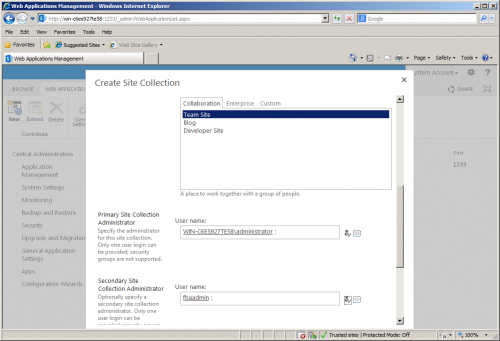
- From the Create Site Collection dialog, give the site collection a name and URL and select a template.

- For the Primary Site Collection administrator, i’ve left it as my Windows administrator account, so that I can login without FBA. For the Secondary Site Collection Administrator i’ve set it to ‘fbaadmin’ – the FBA account we setup in Part 2 . You can set these to whatever is appropriate for your setup. Click OK.
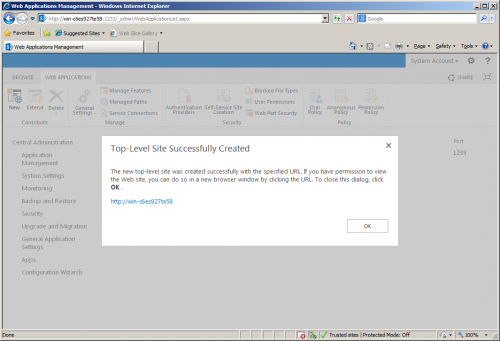
- You’ll get the “Top-Level Site Successfully Created” dialog. You can click on the URL to visit the new site collection you just created.
- When authenticating to the site collection, if you enabled both Windows Authentication and Forms Based Authentication, you’ll be prompted for which method you’d like to use to authenticate. I’m going to choose to authenticate with Forms Authentication.

- Now we are logged in using Windows Authentication. Set the permission for the newly created user.Go to Site Settings => Site permissionHere we will get the users both AD and forms authentication. Here it’s showing one of my AD accounts and an other from the database.

- Next we are logging with forms authentication.
- You’re now logged into the site as a site collection administrator.

That’s it! Now you can authenticate to the site with Forms Based Authentication.

[…] role and membership providers have now been setup for SharePoint. Continue on to Part 4 to configure SharePoint to use the membership provider we just […]
LikeLike
[…] Part 4 – Configuring SharePoint […]
LikeLike